How to Turn One Product Photo into a Full Campaign
Start with one approved product image and use Claude with CreativeClaw to build lifestyle photography, ecommerce assets, social ads, motion, and voice without losing the product identity.
What you'll make
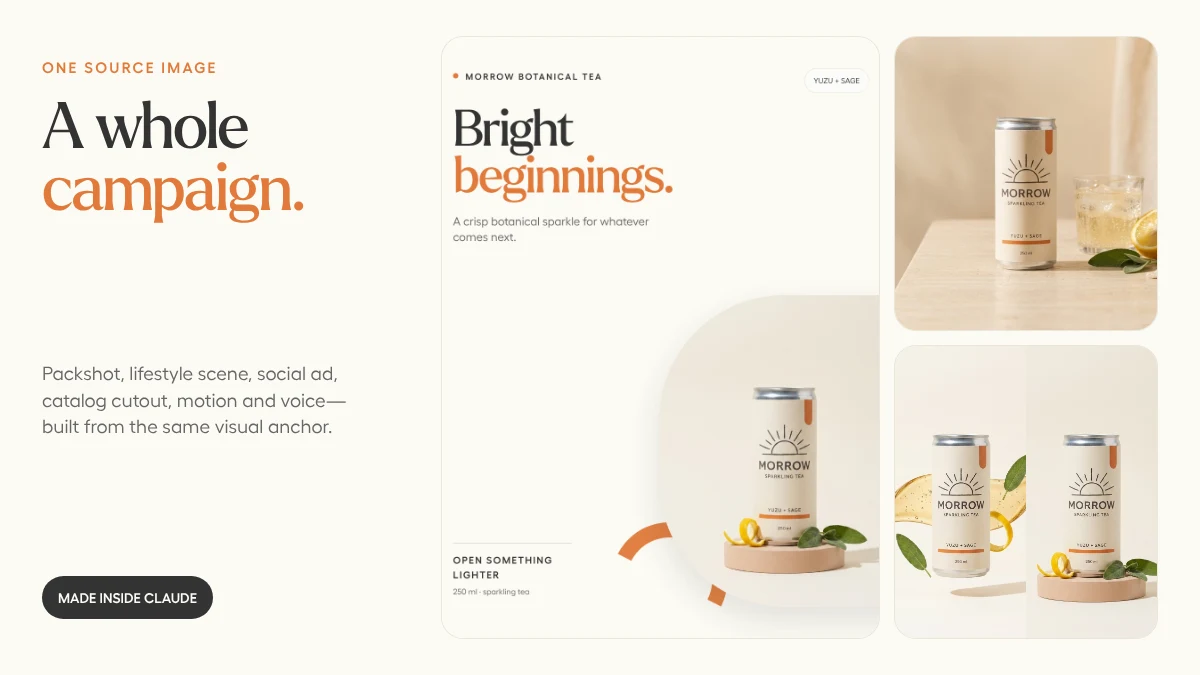
A coordinated six-asset launch kit—packshot, lifestyle scene, vertical ad, catalog image, transparent cutout, and motion spot—from one visual anchor.
One good product image should not be the end of a shoot. It should be the beginning of a system.
For this walkthrough, we built MORROW, a fictional sparkling botanical tea. The important part is not the can. It is the chain: every asset below came from the same approved source image.
1. Approve the visual anchor
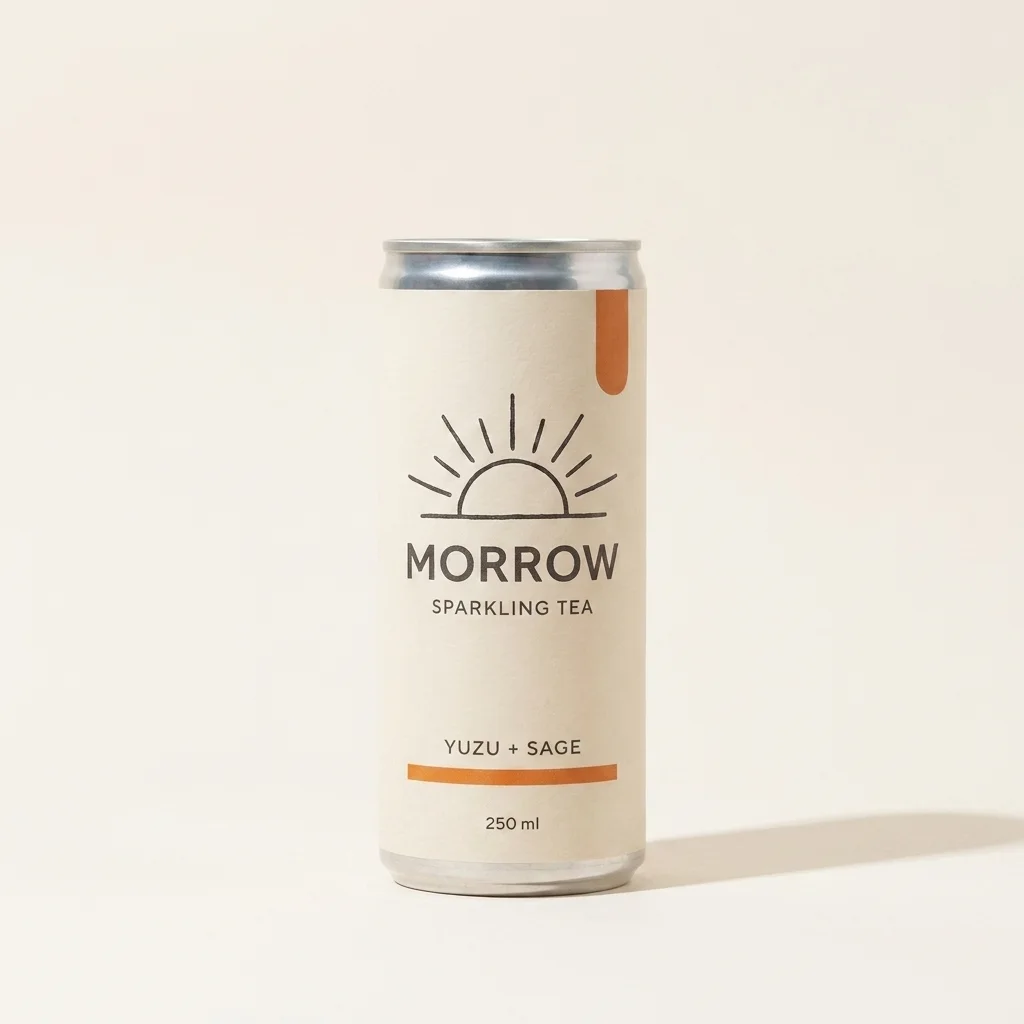
We generated one clean packshot and treated it like a photographed product. From this point on, the instruction was always the same: change the scene, preserve the object.
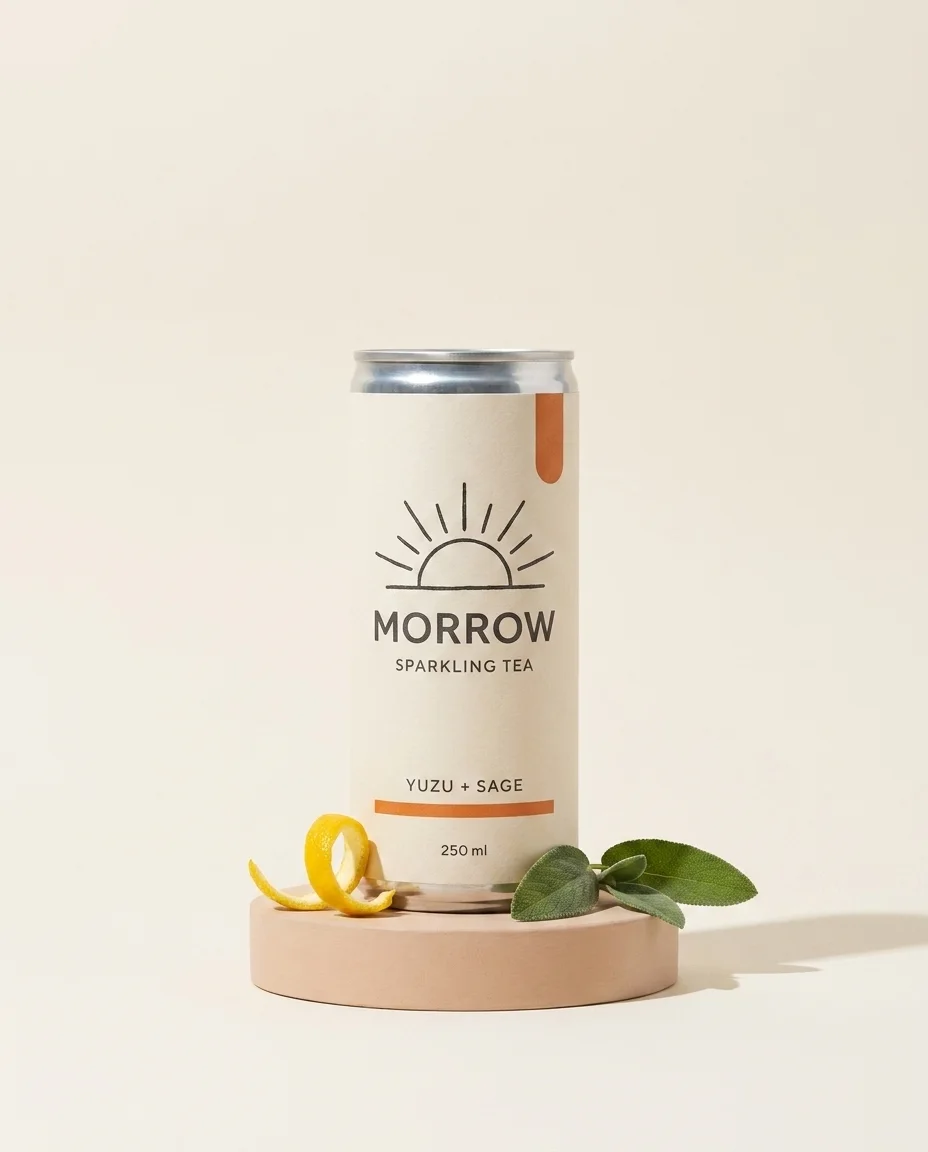
The preservation block matters more than adjectives:
Preserve the exact single can, label artwork, rising-sun symbol,
proportions, warm-ivory material, orange accent, and readable copy:
MORROW / SPARKLING TEA / YUZU + SAGE.

Do not add extra cans, redesign the label, invent certification marks,
or change the product proportions.
That short block followed the product into every edit. CreativeClaw also saved the image as walkthrough-morrow-packshot, so Claude could find it by name later.
2. Build the campaign around it
Instead of asking one image to work everywhere, we made each composition earn its format.
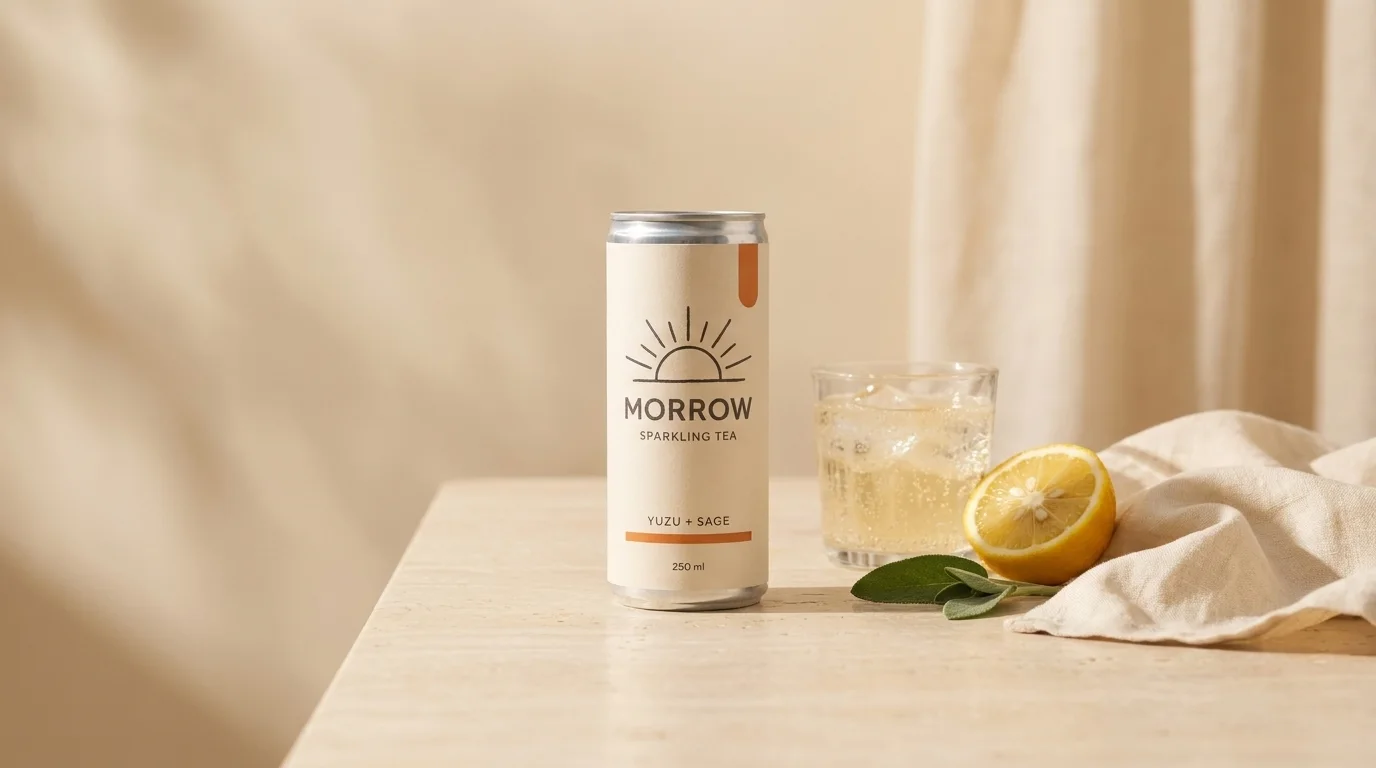
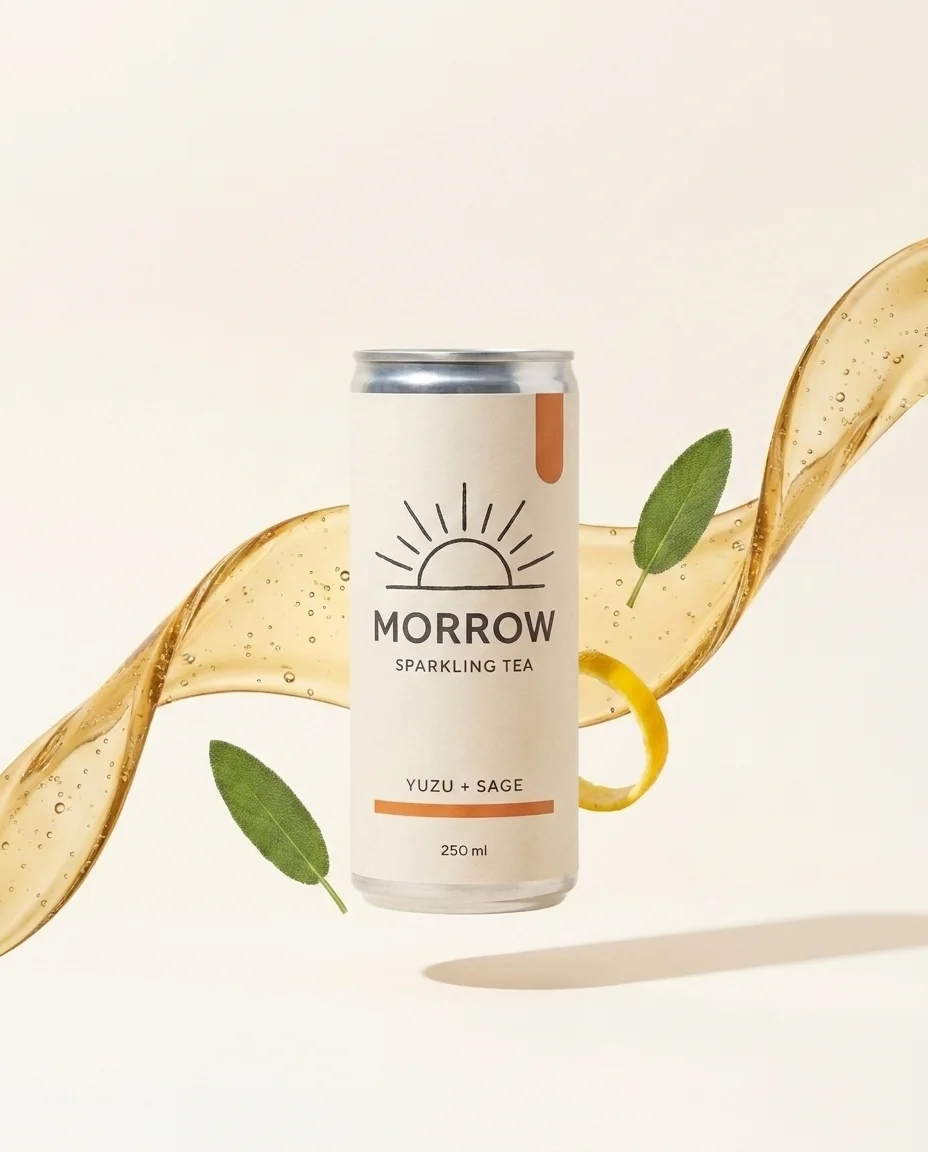
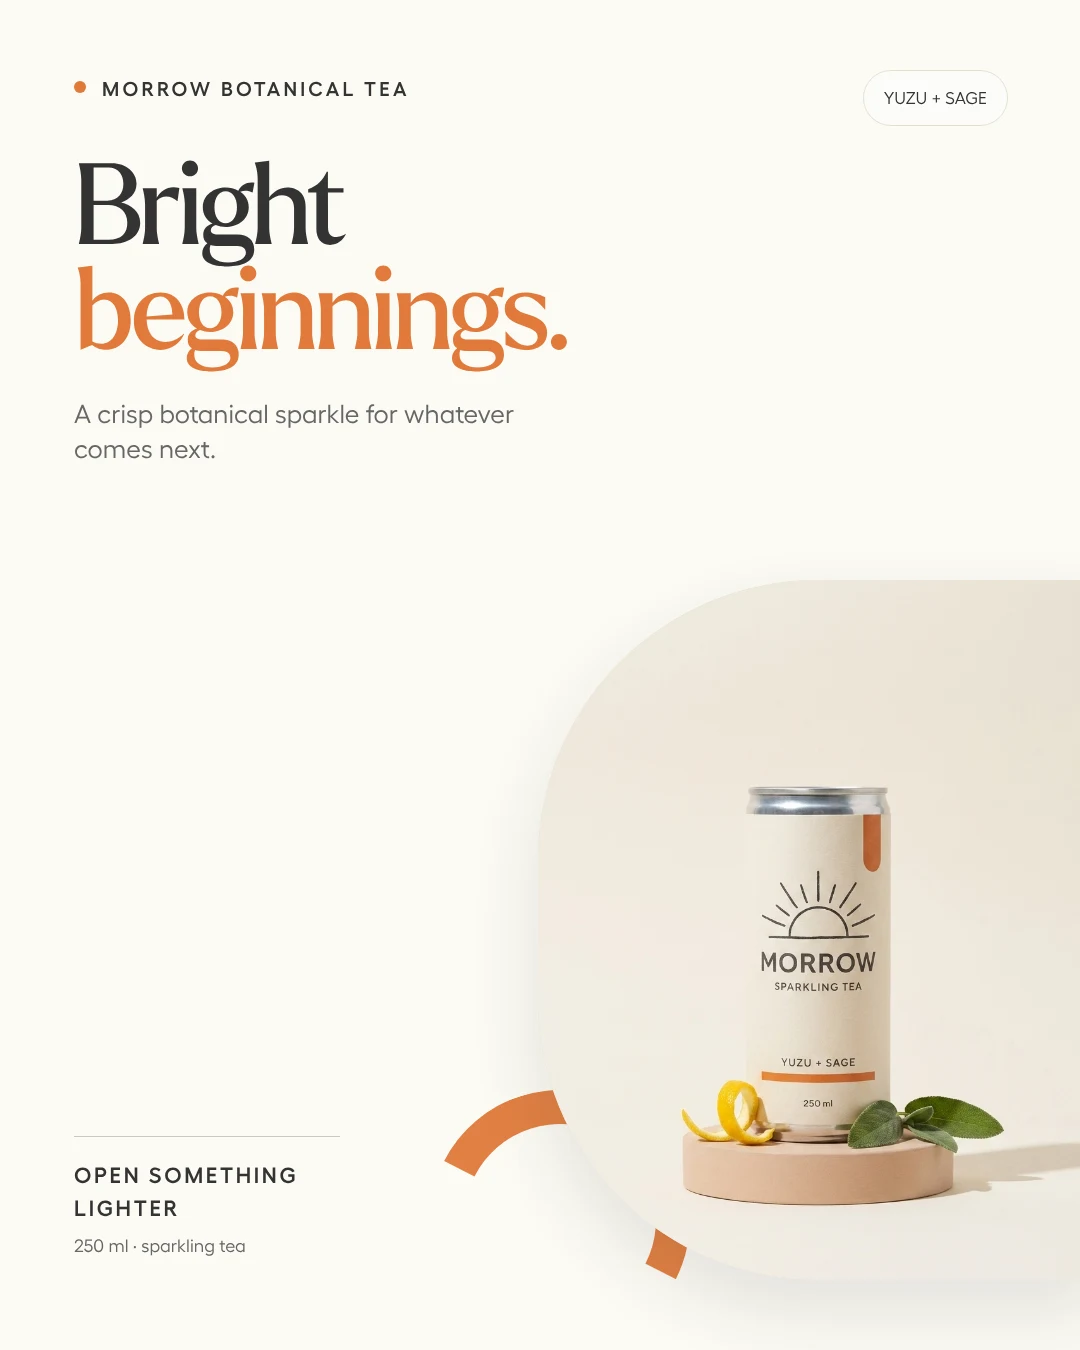
The photoreal scenes used Nano Banana Pro in editing mode. The typography-led ad used CreativeClaw’s HTML renderer, because asking an image model to repeatedly typeset campaign copy is the wrong primitive.
3. Create a reusable transparent product
One background-removal pass turns the hero product into production infrastructure.
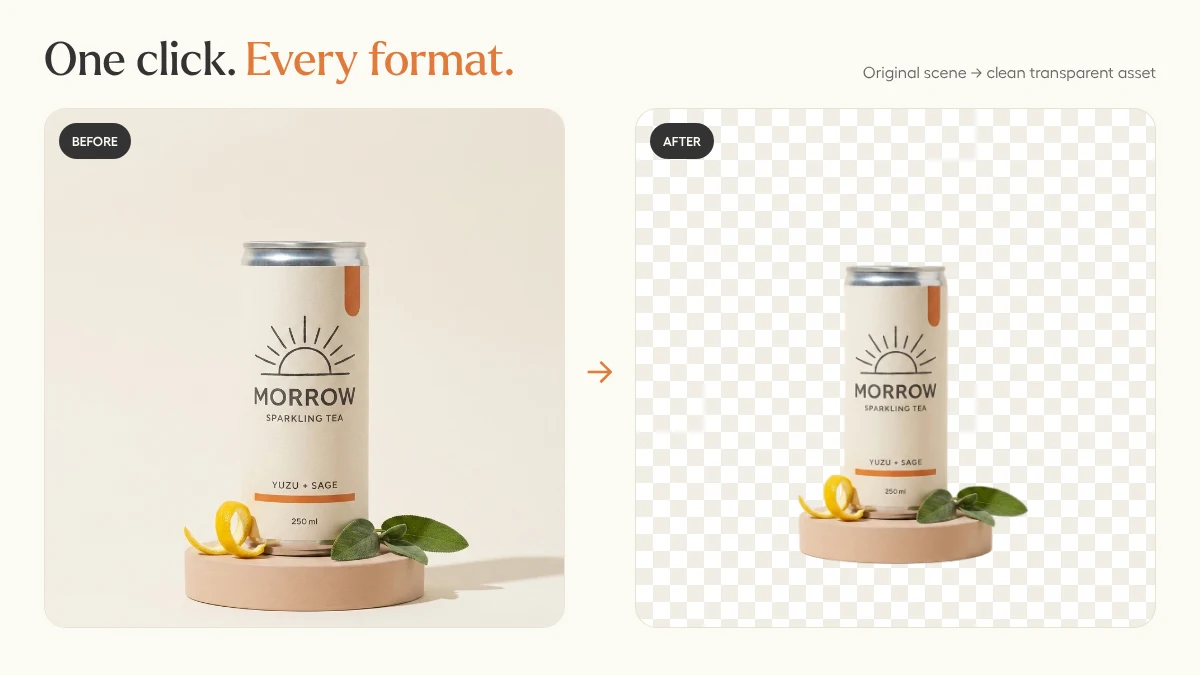
The cutout can now be placed into email headers, pricing cards, retail sheets, decks, and future campaigns without generating the can again.
4. Animate the approved frame
We sent the original packshot to Gemini Omni Flash as the starting image. The motion prompt described only what should move: condensation, yuzu peel, leaves, light, and a restrained camera push.
[0s–2s] Light glides across the matte label; condensation appears.
[2s–4.5s] One yuzu peel curls behind the can; sage lifts gently.
[4.5s–6s] Motion settles; a small dolly-in holds on the product.

Preserve the can and label. No cuts, morphing, duplicate products,
captions, or new text.
This is the image-first rule in practice: approve the frame, then direct the motion.
5. Give the campaign a voice
Finally, Claude wrote a 20-word launch line and CreativeClaw rendered it with ElevenLabs v3.
[warmly] Meet Morrow. Bright yuzu, quiet sage, and a little sparkle
for whatever comes next. [pause] Open something lighter.
The finished campaign stays coherent because each new asset inherits a real reference—not because every prompt repeats a long mood-board paragraph.
The prompt to try
Use CreativeClaw to turn my approved product photo into a launch kit.
Keep the product and packaging exact. Create:
1. a wide lifestyle image with copy space,
2. a 4:5 social ad,
3. a square catalog image,
4. a transparent cutout,
5. a six-second image-to-video spot,
6. a short voiceover.

Show me each stage before moving to the next, and save every approved
asset with a clear name and campaign tag.
If the packaging starts to drift, stop. Go back to the approved packshot and make a narrower edit. The source image is the product.
Built with